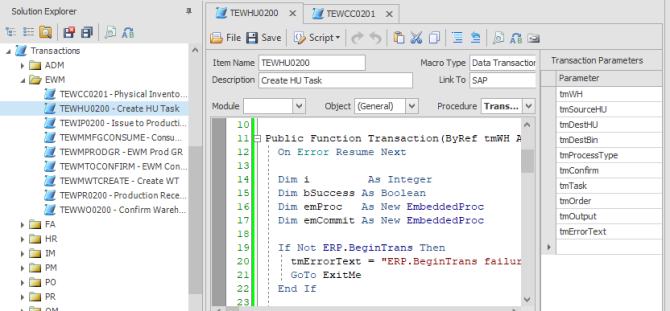
To create a Data Transaction Macro

-
Right-click on Solution Explorer > Data Transactions and select Add New Transaction from the menu. If desired, you can also create a new folder to group your transactions by selecting Add New Group from the menu and moving your new transaction into this folder.
-
Enter an Item Name, Description. Set the Macro Type to Data Transaction.
-
Add parameters for each value being passed in to the macro. The Location and Length columns do not apply to Data Transaction macros. A maximum of 31 can be used due to the integration with the VBA environment. To work around this, you may concatenate multiple values separated by a unique string like “ | “ and only use 1 parameter.
-
Select the Transaction function from the Procedure drop-down list and a shell function will be created for you.
Select the Offline option from the Procedure drop-down list if you want the transaction that will run on an offline client.
For Menu descriptions, see the Data Transactions Macro Menu.
A Host Transaction macro can be created and linked to a Host Screen macro. This is described in the Screen Mapping section.